Locations ·
Best Viewpoints in Rio de Janeiro for Photos
Rio is a city of overlooks — granite peaks, clifftop belvederes and a rock at the end of a beach where the whole city stops to watch the sun go down. Here are the viewpoints worth your time, how to reach each one, and the light that makes it.
Rio's light is punchy: it bounces off the ocean and the pale sand, so the sea only turns deep blue in the softer hours. Plan around sunrise and the last hour before sunset, and for the warmest window see our golden hour viewpoints guide.
The main viewpoints, one by one
Mirante Dona Marta: the postcard in one frame
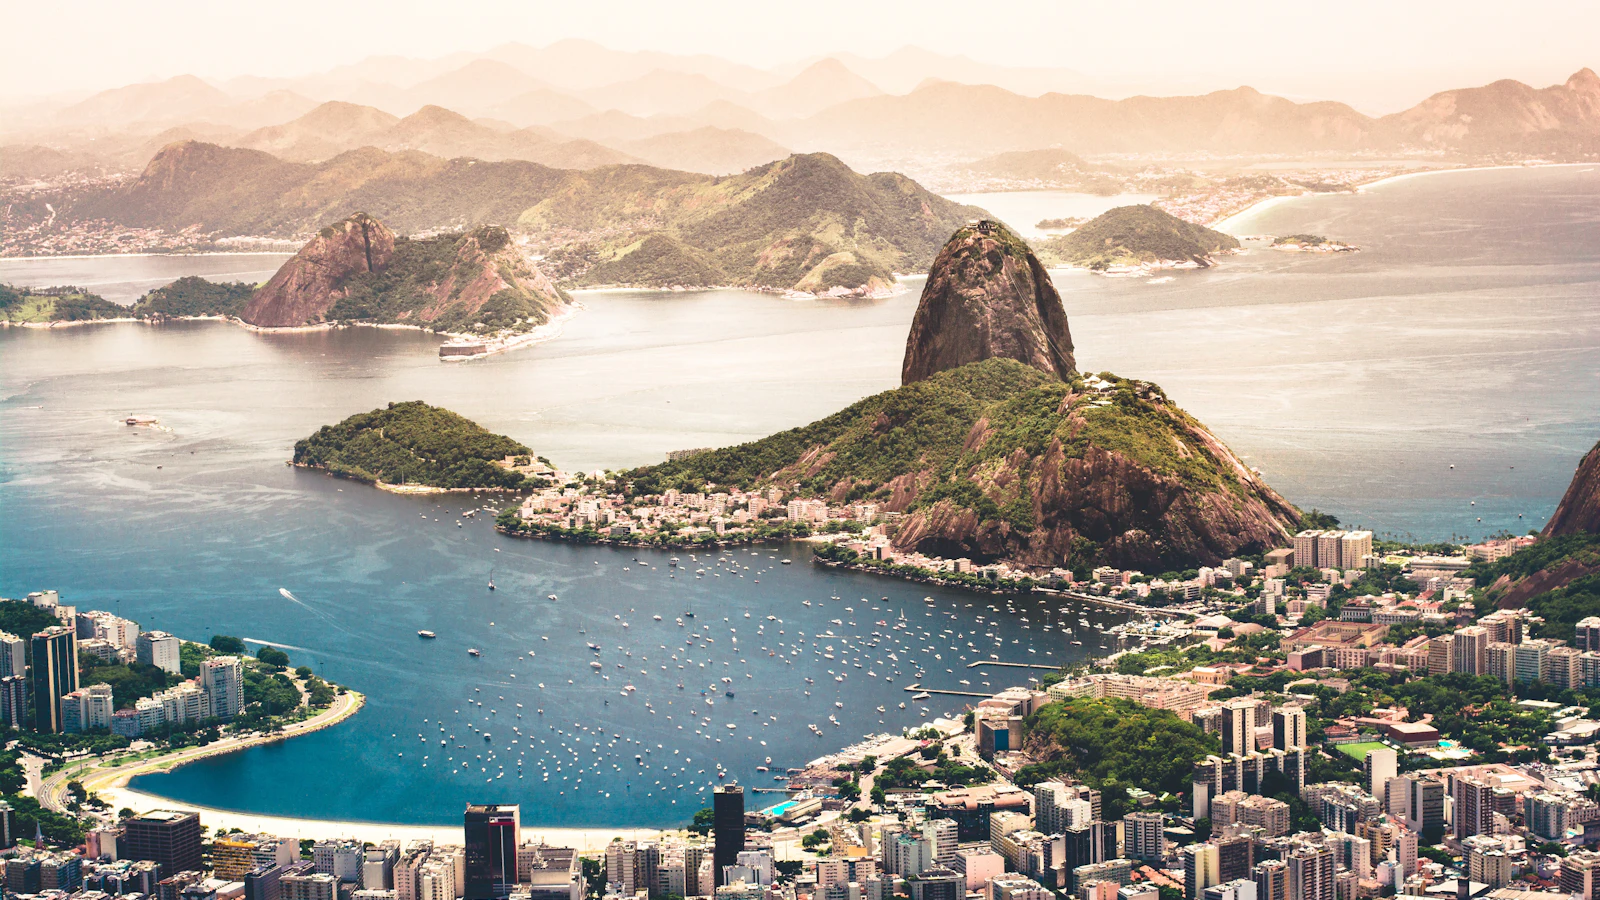
If you photograph only one viewpoint, make it this one. The Dona Marta belvedere, a railed platform at about 360 metres on the ridge below Corcovado, lines up Sugarloaf, Botafogo's curved beach, Guanabara Bay and — turning around — the Christ statue above you. It's free and open-air, reached in a few minutes by taxi or ride-hailing up from Botafogo (there's no direct bus; ask the driver to wait). Come at sunrise for clean air and a lit-up Sugarloaf, or at dusk for the city switching on below.
Sugarloaf Mountain and Morro da Urca
Sugarloaf (Pão de Açúcar) rises 396 m over the harbour mouth, reached by a two-stage cable car. The lower stage stops at Morro da Urca (220 m), a viewpoint in its own right and a quieter, cheaper vantage if you don't go all the way up — a fine place to catch the cable cars strung across the sky and Christ backlit on his ridge. Ride up in the late afternoon so you're at the top for sunset and the blue hour, when the city lights come on; the last descent is usually mid-evening, so check the timetable before you commit to staying for dark.
Corcovado and Christ the Redeemer
Corcovado, at 710 m, is the highest of the classic viewpoints and the most weather-dependent: low cloud forms fast once the day heats up, so go early — 7:00 to 9:00 am for the best odds of a clear statue and city below. The statue faces east, so it's lit from the front in the morning; late afternoon (around 4:30 pm) gives softer, more even light between the figure and the cityscape. Book the official cog train or van in advance and check the running status before you set out.
Arpoador: Rio's free sunset
The Pedra do Arpoador is a low rock at the eastern end of Ipanema, and it stages the city's most democratic sunset — locals gather nightly and applaud as the sun drops behind the Dois Irmãos peaks over Leblon. It's free, a two-minute walk from the beach, and needs no cable car or ticket. Arrive 30–45 minutes before sunset for a spot on the rock, shoot the beach curve as a leading line, then stay for the afterglow. This is the easiest great viewpoint in Rio to reach.
Vista Chinesa: the forest belvedere
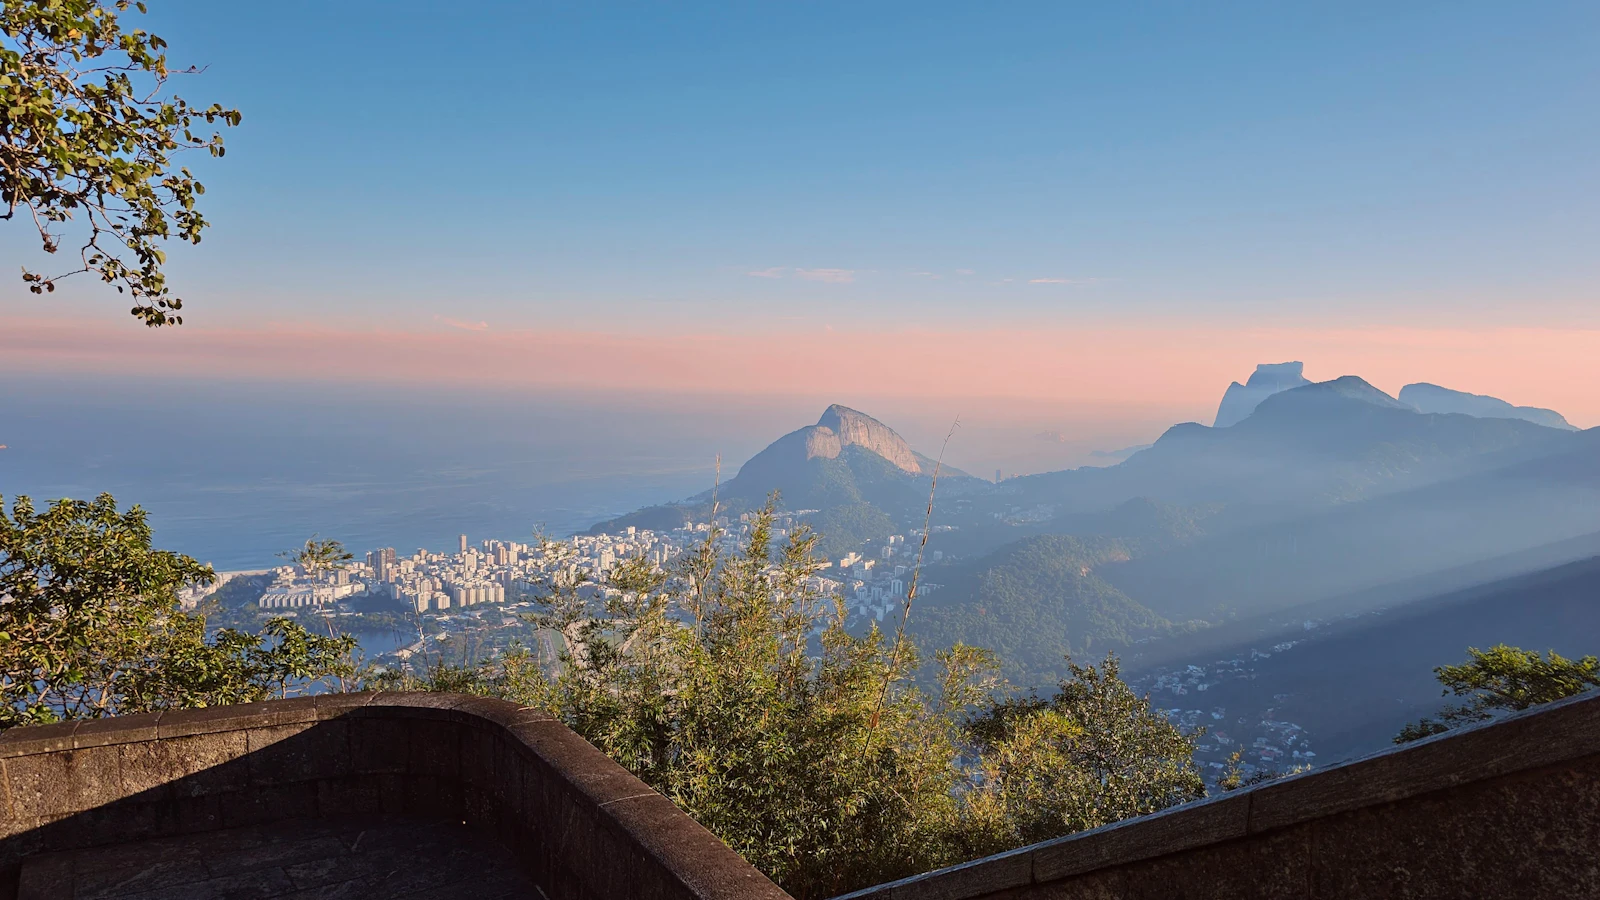
High in Tijuca National Park, the oriental-style pavilion of Vista Chinesa frames the Lagoa, Ipanema, Leblon and Corcovado from about 380 m — a very different, greener angle than the coastal spots. There's no public transport up, so take a taxi and have it wait, or drive. We cover access, safety and light in detail in the dedicated Vista Chinesa guide.
Which viewpoint gives you which view
No lookout in Rio gives you everything, so match the spot to the frame you actually want:
- Bay and Sugarloaf — Mirante Dona Marta and Morro da Urca both deliver the postcard composition, with Botafogo's crescent and the Centro towers behind Guanabara Bay.
- Beaches end to end — Arpoador at ground level, or the hills above Vidigal, for the run of Copacabana and Ipanema with Dois Irmãos closing the frame.
- Peaks as the horizon — Vista Chinesa and the Tijuca overlooks, where the granite becomes the skyline and the city drops to foreground.
A short telephoto (70–200mm) compresses peaks and high-rises into a dense, graphic frame; a wide-angle spreads the same view out and needs strong foreground to hold together. If it's specifically the Rio de Janeiro skyline you're after — which of its three versions to shoot, and what Brazil's drone rules permit from the air — we cover that separately.
Parque Lage and the Botanical Garden
For a viewpoint at ground level, the courtyard of Parque Lage — a free public mansion and café at the foot of Corcovado — frames the Christ statue above its palm-lined terrace, best in soft morning light. Nearby, the Botanical Garden's still ponds can mirror the statue on a windless morning before 8:00 am. Both are calm, crowd-free alternatives to the peaks when the mountains are capped in cloud.
The viewpoints compared
| Viewpoint | Height | Ticket | Access | Best light |
|---|---|---|---|---|
| Mirante Dona Marta | ~360 m | Free | Taxi up from Botafogo | Sunrise, dusk |
| Sugarloaf summit | 396 m | Cable car | Cable car from Urca | Sunset, blue hour |
| Morro da Urca | 220 m | Cable car (1st stage) | Cable car, or a walking trail | Late afternoon |
| Corcovado | 710 m | Train or van | Cog train from Cosme Velho | 7:00–9:00 am |
| Arpoador | Sea level | Free | 2-min walk from Ipanema | Sunset |
| Vista Chinesa | ~380 m | Free | Taxi or car through Tijuca | Morning |
| Parque Lage | Ground | Free | Walk or taxi, Jardim Botânico | Soft morning |
When to shoot
Winter (June–August) brings the clearest, most contrasty air; summer is hazier but throws dramatic clouds. Whatever the season, the light works for you in the first hour after sunrise and the last before sunset — and the golden hour card on our viewpoint guides shows the exact window for today.
The mountain viewpoints and the coastal ones want opposite ends of the day. Golden hour at a mountain viewpoint — Dona Marta, Vista Chinesa, the Tijuca overlooks — works best in the evening, when the low sun rakes across the granite and throws the peaks into relief while the city below starts to light up. Sunrise at those same spots gives you the clearest air of the day and a lit-up Sugarloaf, but flatter modelling on the rock. The beach viewpoints invert it: Arpoador and the Ipanema end are evening spots because the sun sets behind Dois Irmãos, while Copacabana faces east and is a morning beach. Plan one of each rather than trying to catch both in a single golden hour.
Frequently Asked Questions
What is the best viewpoint in Rio de Janeiro?
For a single frame that captures the city, the Mirante Dona Marta belvedere is hard to beat — Sugarloaf, the bay and Christ the Redeemer all line up, it's free, and a taxi gets you there in minutes. Sugarloaf and Corcovado are the famous ticketed peaks; Arpoador is the best free sunset.
Where is the best place to watch the sunset in Rio?
Arpoador, the rock at the end of Ipanema, is the classic free sunset spot — the sun sets behind the Dois Irmãos peaks and the crowd applauds. Sugarloaf at dusk and Mirante Dona Marta are the standout paid and belvedere alternatives.
Which Rio viewpoints are free?
Mirante Dona Marta, Arpoador, Vista Chinesa and Parque Lage are all free and open-air. Sugarloaf's cable car and the Corcovado train to Christ the Redeemer are ticketed.
How do you get to Mirante Dona Marta?
There's no direct public transport; take a taxi or ride-hailing car up from Botafogo and ask it to wait, as it's hard to find a ride back at the top. The belvedere itself is free to enter.
What time should I go to the viewpoints for the best photos?
Early morning (around sunrise to 9:00 am) for the clearest air — especially at Corcovado before the cloud builds — and the last hour before sunset for warm light. Avoid midday, when the light is flat and the ocean washes out.
Which viewpoint has the best view over the city?
For the classic bay composition — Sugarloaf, Botafogo and the Centro towers behind Guanabara Bay — the Mirante Dona Marta is the best single spot, and it's free. Morro da Urca gives the same view with more height, and Vista Chinesa swaps it for a greener, mountain-framed horizon over the Lagoa and Ipanema. Our Rio de Janeiro skyline guide compares the three versions of the view in detail.
Which viewpoint is best for golden hour?
Evening golden hour suits the mountain belvederes — Dona Marta and Vista Chinesa — where the low sun models the granite and the city lights come up underneath. Arpoador is the best sea-level sunset, with the sun dropping behind Dois Irmãos. Sugarloaf's summit is the strongest for the blue hour that follows.
Can you fly a drone at Rio's viewpoints?
Generally no. Tijuca National Park — which covers Vista Chinesa and the forest overlooks — prohibits drones, and central Rio and the beaches fall under airport exclusion zones. Our aerial photography guide covers the ANAC and DECEA rules and the legal alternatives.