Locations ·
Photographing Sugarloaf Mountain: Spots and Times
The granite peak of Pão de Açúcar rises 396 meters above the Atlantic Ocean, creating a silhouette that defines the Rio de Janeiro skyline. Capturing this iconic landmark requires more than just pointing a camera at the cable cars. You need precise timing, specific vantage points, and an understanding of how light interacts with the humid tropical atmosphere. Many visitors arrive at the base only to find their lens blocked by the midday haze or the wrong angle. This guide provides the technical and logistical details needed to secure a sharp, well-exposed image of Rio’s most famous monument. We will cover the optimal hours for shooting, the exact locations for foreground interest, and the gear settings that handle the high-contrast environment.
Mastering the Light: When to Shoot Sugarloaf Mountain
Lighting is the single most critical variable in landscape photography. The sun rises in the east and sets in the west, but Sugarloaf Mountain’s unique orientation means you must plan around the specific azimuth of the peak. The mountain faces roughly northeast, which presents distinct challenges and opportunities depending on your position. If you are shooting from the south, such as from Urca or Flamengo Park, the morning light hits the face of the mountain directly. This creates a bright, detailed image where the texture of the rock is visible. However, the contrast can be extreme, often blowing out the highlights on the sunlit side while leaving the shadows in deep obscurity. Our companion guide to the best time to photograph Rio breaks down how the seasons shift this light through the year.
The Golden Hour Advantage
The period known as the golden hour, roughly one hour after sunrise and one hour before sunset, offers the most flattering light. During sunrise, the sky behind the mountain remains dark while the peak catches the first warm rays. This creates a natural separation between the subject and the background. The air is also clearer in the early morning. The tropical humidity that builds up through the day has not yet formed the thick haze that often obscures distant details. You will notice that colors are more saturated and the contrast is softer, allowing your camera sensor to capture detail in both the shadows and the highlights.
Sunset offers a different aesthetic. The mountain becomes a dark silhouette against a colourful, saturated sky. This is an excellent technique if you want to emphasize the shape of the peak and the cable cars moving along the line. The sky behind Rio often displays shades of purple, orange, and pink. To capture this correctly, you must expose for the sky rather than the mountain. If you expose for the rock, the sky will turn white and featureless. Use spot metering on the brightest part of the sky to ensure the colors remain rich. The silhouette effect is most powerful when the sun is just below the horizon, casting a red glow across the clouds.
Prime Vantage Points: Shooting Sugarloaf over Guanabara Bay
Choosing the right location determines the composition of your photograph. Some spots offer a clean, unobstructed view of the peak, while others provide foreground elements that add depth and scale. The cable car system itself offers two distinct platforms for shooting, each with its own advantages. If you want to compare these with the city’s other lookouts, see our roundup of the best viewpoints in Rio. Understanding the geography of these locations will help you avoid crowded angles and find a unique perspective.
Urca Beach and the Base Station
Urca Beach is the most accessible location for photographing Sugarloaf Mountain. The beach faces the mountain directly, providing a wide, open view. This is ideal for capturing the entire peak along with the cable cars in the frame. The sand and the ocean provide a clean foreground. You can place the water in the lower third of your image to create a sense of vastness. The base station of the cable car is also located here. Shooting from the platform outside the station allows you to include the mechanical structure of the lift in your composition. This adds a human element to the natural landscape.
The Two Peaks: Urca and Sugarloaf
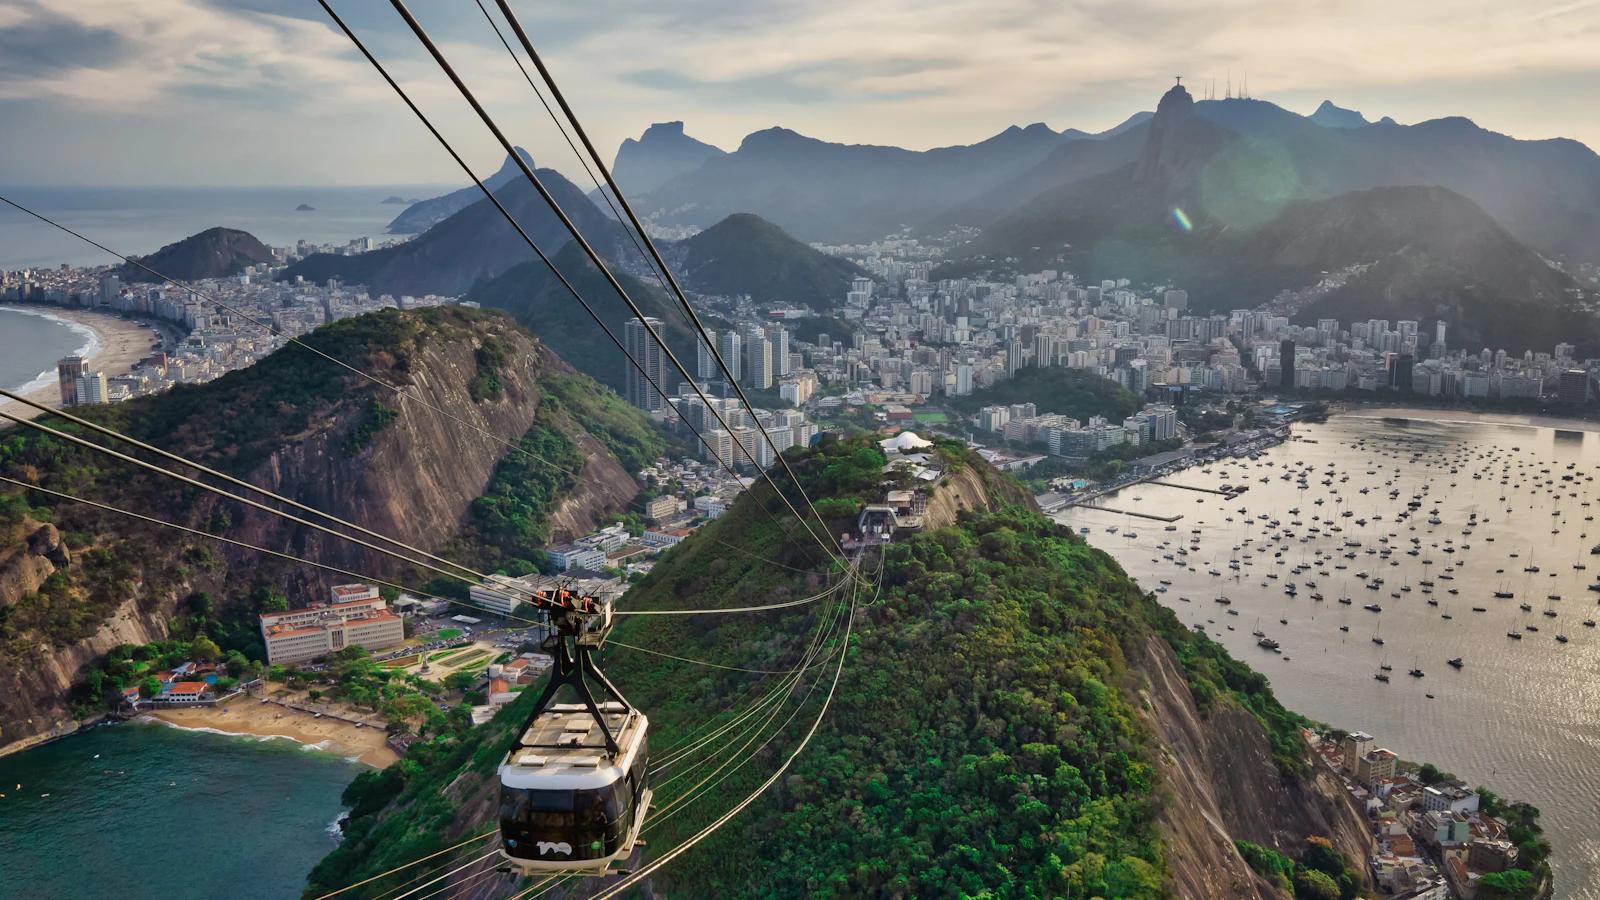
The cable car journey stops at two intermediate platforms. The first stop is Urca Hill, which sits at 220 meters. This vantage point offers a lower angle view of the main Sugarloaf peak. You can capture the second cable line stretching up to the higher summit. This perspective emphasizes the height and isolation of the main peak. The second stop is the top of Sugarloaf Mountain itself, at 396 meters. From here, you are looking out over the city. This is not for shooting the mountain itself, but for capturing the surrounding landscape. You can frame the city of Rio, Guanabara Bay, and Corcovado Mountain — home of the statue covered in our guide to photographing Christ the Redeemer — in the distance. This panoramic view is best shot with a wide-angle lens to capture the breadth of the scene.
Essential Gear and Camera Settings for High Contrast
The environment around Sugarloaf Mountain presents specific technical challenges. The high contrast between the bright sky and the darker rock requires careful exposure management. The tropical humidity can also affect your lens. Bringing the right gear and knowing how to adjust your settings will ensure you get a usable image.
- Use a polarizing filter to reduce glare on the water and enhance the blue of the sky. This is particularly effective during the midday hours when the sun is high.
- Carry a lens cloth and a silica gel pack. The humidity near the ocean can cause condensation on your lens elements, leading to soft images.
- Set your camera to manual mode and use the histogram to ensure you are not clipping the highlights. The sky can be up to three stops brighter than the rock face.
- Use a tripod or a stable surface if shooting during sunset. The lower light levels require slower shutter speeds, which can introduce camera shake.
Exposure Techniques
Bracketing your exposures is a reliable technique for high-contrast scenes. Take one shot exposed for the sky, one for the mid-tones, and one for the shadows. You can then blend these images in post-processing to create a balanced final image. This is known as High Dynamic Range (HDR) photography. If you prefer to shoot a single image, use the exposure compensation dial to underexpose by one or two stops. This protects the highlights in the sky. You can recover some detail in the shadows later if you shoot in RAW format. RAW files retain more data than JPEGs, giving you greater flexibility in editing.
Lens Selection
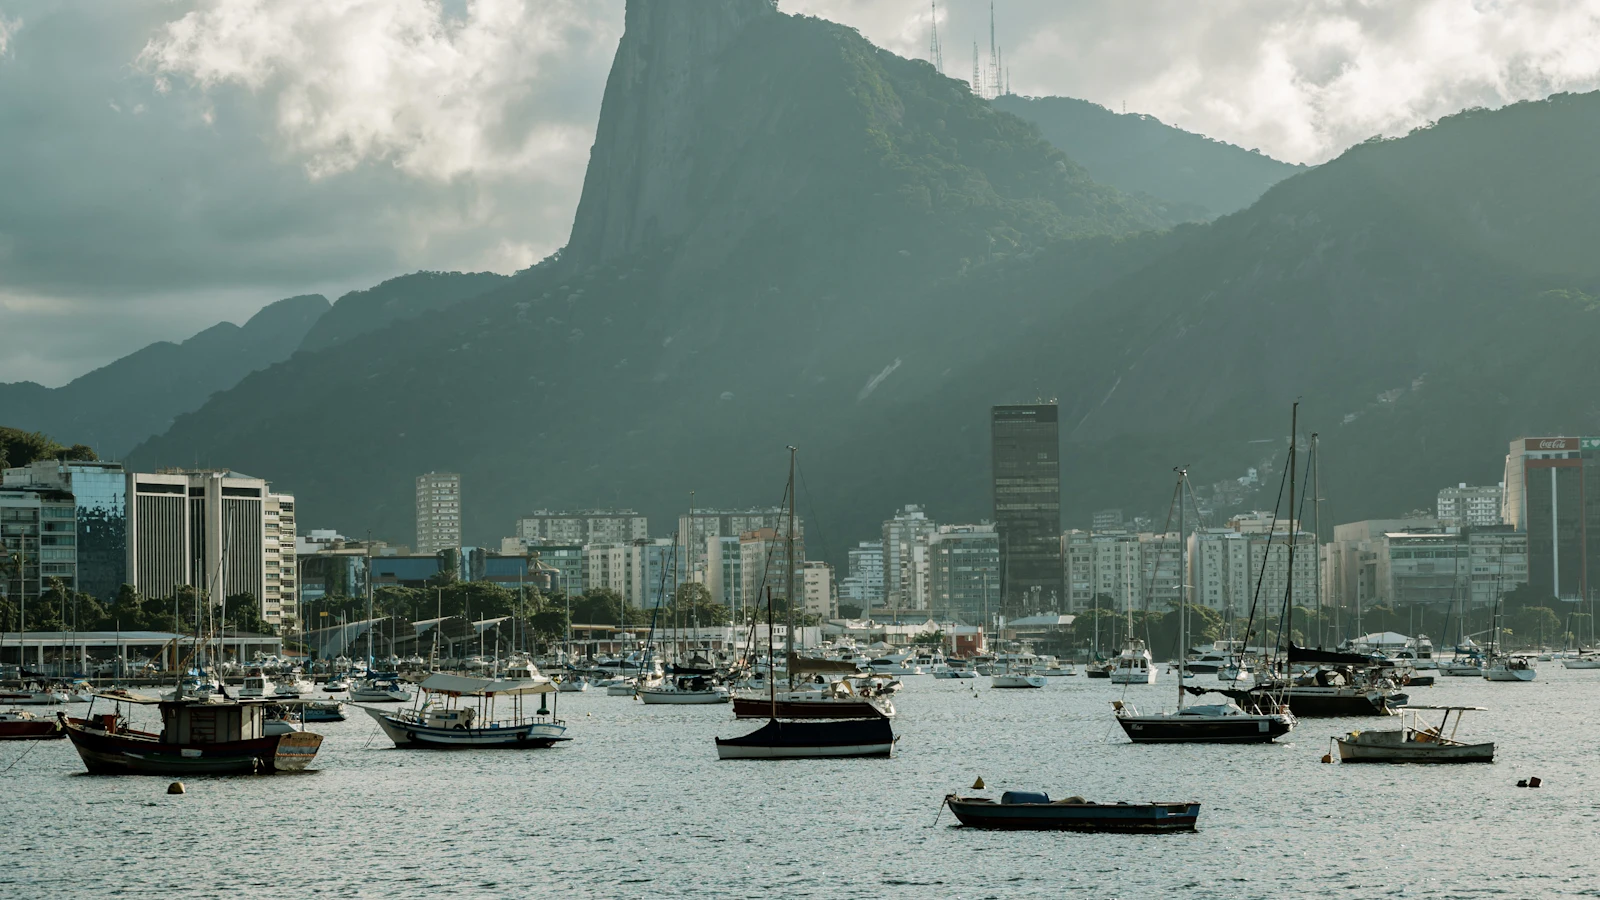
A wide-angle lens, such as a 16-35mm, is ideal for capturing the full peak and the surrounding context. This allows you to include foreground elements like the beach, the cable cars, or the cityscape. A telephoto lens, such as a 70-200mm, is useful for compressing the perspective. This can make the cable cars appear larger and closer to the peak. It is also useful for isolating details on the rock face or capturing distant subjects like Christ the Redeemer in the same frame as Sugarloaf. The compression effect creates a more dramatic and intimate feel.
Navigating Logistics: Crowds, Tickets and Timing
Photography is not just about technical skill; it is also about logistics. Sugarloaf Mountain is one of the most visited tourist attractions in Brazil. Managing crowds and ticketing is essential for getting the shot you want. Planning ahead can save you time and frustration.
Ticket Strategy and Queue Management
The cable car operated by the Parque Bondinho Pão de Açúcar runs from the early morning until the evening, so check the current daily hours before you go. The lines can be extremely long, especially on weekends and during the summer months. To avoid the peak crowds, arrive at the base station at least 30 minutes before opening. This allows you to secure a spot in the queue and enter the first cable car. If you are shooting from the ground, arriving early also gives you the best light and the fewest people in the frame. You can purchase tickets online in advance to skip the ticket counter line. This saves significant time, allowing you to focus on photography rather than waiting.
Crowd Control in the Frame
Getting a clean shot without tourists in the frame can be challenging. Use a slower shutter speed to blur out moving people. If you set your shutter speed to 1/15th of a second or slower, walking subjects will become invisible or ghostly in the final image. This requires a tripod to keep the stationary elements sharp. Alternatively, use a wide-angle lens and position yourself so that the crowd is behind you. Look for angles where the composition naturally excludes the densest areas of people. The upper platform is often less crowded than the lower one, as fewer visitors make the full trip. Patience is key. Wait for a gap in the crowd before pressing the shutter.
Frequently Asked Questions
What is the best time of day to photograph Sugarloaf Mountain?
The best time is during the golden hour, specifically sunrise. The light is soft, the air is clear, and the crowds are minimal. Sunset is also excellent for silhouette shots against a colourful sky.
Do I need a tripod to photograph Sugarloaf Mountain?
A tripod is not mandatory for daytime shots with a wide-angle lens. However, it is highly recommended for sunset shots or if you are using a telephoto lens. It also allows for longer exposures to blur moving crowds.
Can I take professional camera equipment on the cable car?
Yes, you can bring professional cameras and lenses on the cable car. However, space is limited, and you must be careful not to obstruct other passengers. Secure your gear properly to avoid accidents during the ride.
Is it worth going to the top of Sugarloaf Mountain for photography?
Yes, the top offers a unique 360-degree view of Rio de Janeiro. While you cannot photograph the mountain itself from the top, you can capture stunning panoramas of the city, the bay, and other landmarks like Corcovado.
Conclusion
Photographing Sugarloaf Mountain requires a blend of technical precision and logistical planning. By arriving early, choosing the right vantage point, and managing the high-contrast light, you can capture images that truly reflect the majesty of Rio de Janeiro. Remember to protect your gear from humidity and use exposure bracketing to handle the dynamic range. The final tip is to look beyond the obvious postcard shot. Explore the angles from Urca Hill or use a telephoto lens to compress the scene. These creative choices will result in photographs that are both technically sound and visually compelling.