Planning ·
A 3-Day Rio de Janeiro Photography Itinerary
Rio de Janeiro is a city of extreme contrasts, where golden light hits colonial facades in Santa Teresa while industrial shadows stretch across the Port Zone. Capturing this duality requires more than just a camera; it demands a precise understanding of light, geography, and local rhythm. This itinerary is designed for photographers who want to maximize their 72 hours, moving from the iconic panoramas of the south zone to the gritty, vibrant streets of the north, ensuring you capture the soul of the city without wasting time in traffic.
Day 1: The Iconic Silhouettes of Sugarloaf and Corcovado
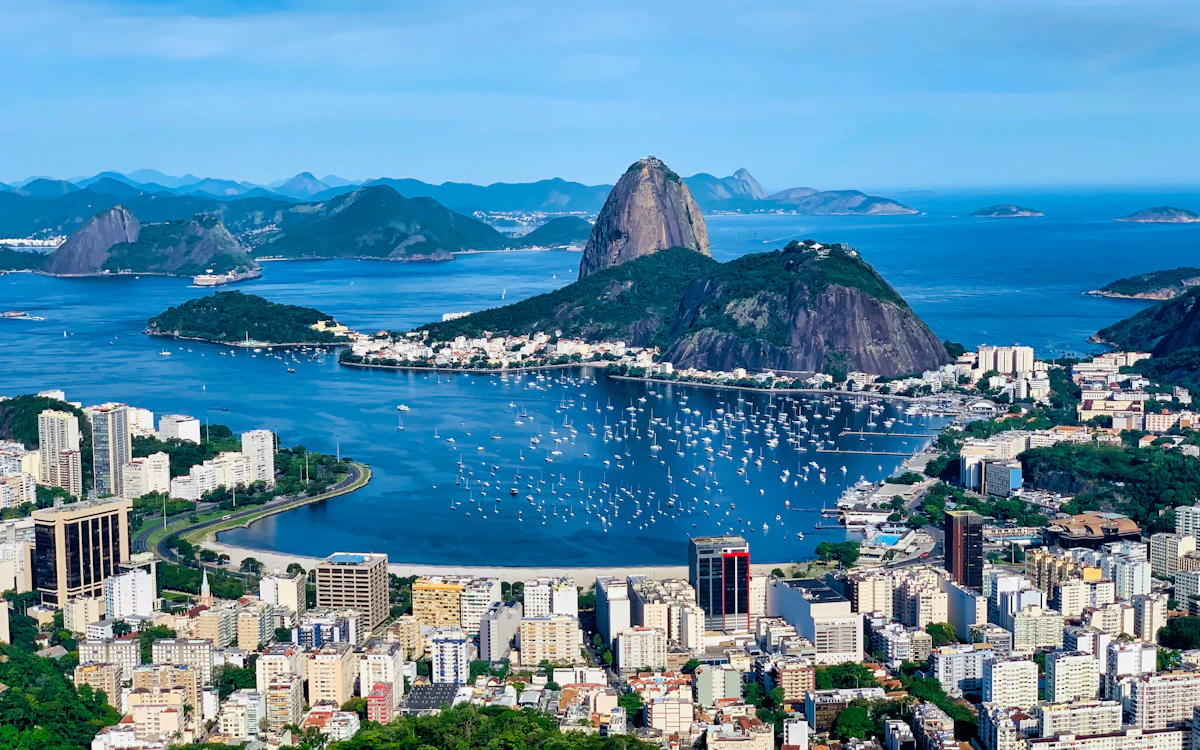
The first day focuses on Rio’s most recognizable landmarks, but the goal is to capture them when the light is soft and the crowds are thin. Start early at Sugarloaf Mountain (Pão de Açúcar). Aim for the first cable cars of the morning to beat the crowds and catch the soft early light on the bay. The two-stage ascent offers two distinct vantage points. The lower station, Urca, provides a stunning view of the bay with the Christ the Redeemer statue in the distance. The upper station offers a 360-degree panorama that includes the Atlantic Ocean and the city skyline.
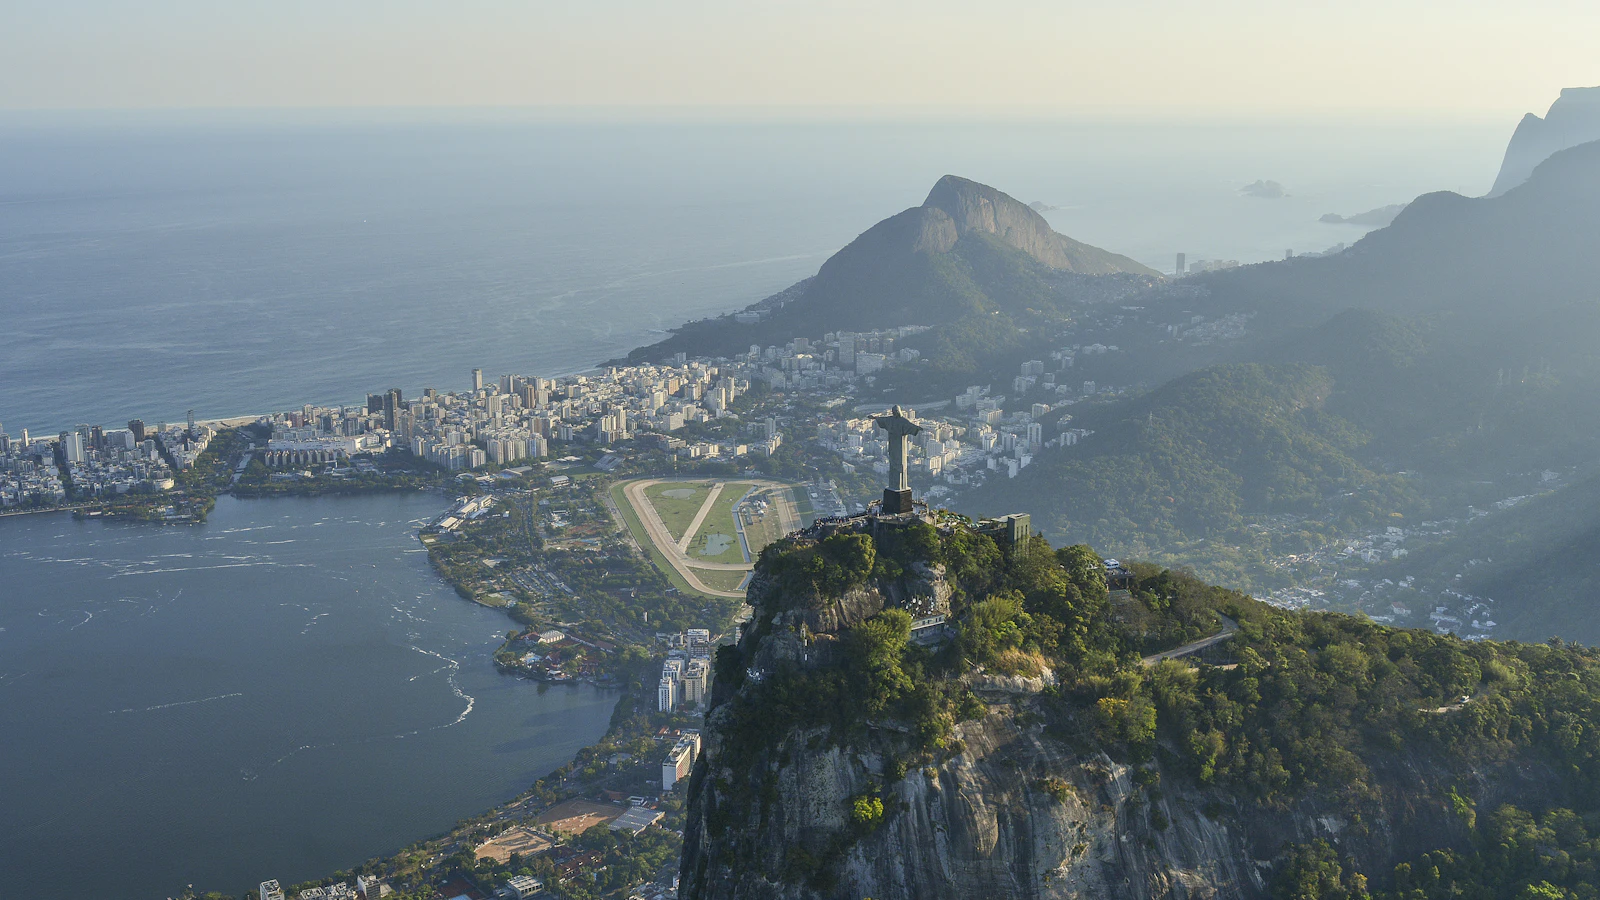
Wait for the sun to rise just above the horizon. The morning light casts long, dramatic shadows across the water, creating a high-contrast scene that is perfect for black and white photography. Use a wide-angle lens, around 16-35mm, to encompass the vastness of the bay. After descending, head toward the Corcovado. The train ride up offers glimpses of the Tijuca Forest, a lush green canopy that contrasts sharply with the urban sprawl below. At the summit, the Christ the Redeemer statue is best photographed from a distance using a telephoto lens, around 70-200mm, to compress the perspective and isolate the statue against the sky. Avoid the midday sun, as the harsh light flattens the details of the statue and creates difficult glare.
Lighting Tips for Landmarks
- Shoot Sugarloaf at sunrise to capture the warm, golden hour light reflecting off the water
- Use a polarizing filter to reduce glare on the glass of the cable cars and enhance sky colors
- For Corcovado, shoot in the late afternoon to get the statue backlit, creating a dramatic silhouette
- Avoid shooting directly into the sun without a lens hood to prevent flare and loss of contrast
Day 2: Urban Layers in Santa Teresa and Lapa
Day two shifts focus to the city’s artistic and historical heart. Santa Teresa is a hillside neighborhood known for its narrow, winding streets, colonial mansions, and lively street art. Start your morning here, as the morning light filters through the dense vegetation, creating dappled patterns on the old buildings. Walk along Rua Almirante Alexandrino, where you will find a mix of cafes, galleries, and colorful murals. The contrast between the decaying colonial architecture and the modern street art provides a rich visual narrative. Use a prime lens, such as a 35mm or 50mm, to capture intimate details and candid moments of daily life.
From Santa Teresa, take the historic tram down to Lapa. Lapa is the cultural hub of Rio, famous for its arches, nightlife, and samba schools. During the day, the arches (Arcos da Lapa) offer a striking architectural subject. The repetition of the arches creates strong leading lines, guiding the viewer’s eye through the frame. As evening approaches, the area transforms. The neon signs and streetlights create a cyberpunk-like atmosphere, perfect for low-light photography. Experiment with long exposures to capture the movement of people and cars, blurring the motion while keeping the architecture sharp. This requires a tripod or a stable surface, and a shutter speed of around 1-2 seconds.
Navigating the Hills
Santa Teresa is steep, so wear comfortable shoes and carry your camera gear in a secure, comfortable bag. The tram is a picturesque option, but it can be crowded. Walking allows for more flexibility in finding unique angles. Be mindful of your surroundings, as pickpocketing can be an issue in crowded areas. Keep your camera strap tight and avoid displaying expensive equipment unnecessarily.Day 3: Beach Culture and Industrial Contrast
The final day explores the beach culture of Copacabana and Ipanema, as well as the industrial beauty of the Port Zone. Start at Copacabana Beach in the early morning. The iconic black-and-white wave pattern on the sidewalk is a classic composition element. Photograph the waves crashing against the rocks, using a slow shutter speed to create a silky effect. The morning light is soft and flattering, ideal for portraits of beachgoers and surfers. Move along the shoreline to capture the changing colors of the sand and water.
In the afternoon, head to the Port Zone (Porto Maravilha). This area has undergone significant regeneration, with modern buildings like the Museum of Tomorrow (Museu do Amanhã) standing in contrast to the old industrial structures. The museum’s unique architecture, designed by Santiago Calatrava, offers interesting geometric shapes and reflections. The nearby Arsenal de Marinha, with its historic cannons and old shipyards, provides a gritty, textured backdrop. The juxtaposition of old and new is a powerful theme in Rio’s visual identity. Use a wide-angle lens to capture the scale of the buildings and the open spaces of the waterfront.
Beach Photography Ethics
Always ask for permission before photographing people, especially in intimate settings. Respect local customs and privacy. Be aware of your surroundings, as theft can occur on the beaches. Keep your gear close and avoid leaving items unattended. The beach is a public space, but it is also a place of relaxation and leisure for locals.Essential Gear and Settings for Rio
Photographing in Rio requires versatile gear that can handle both bright sunlight and low-light conditions. A full-frame camera with good high-ISO performance is recommended. Bring a range of lenses: a wide-angle for landscapes and architecture, a standard prime for street photography, and a telephoto for compressing distant subjects. A sturdy tripod is essential for low-light and long-exposure shots, but choose one that is compact and easy to carry.
Weather in Rio can be unpredictable, with sudden rain showers. Protect your gear with a rain cover or a plastic bag. Dust and sand are also common, especially near the beaches, so use a lens cleaning kit regularly. A polarizing filter is invaluable for reducing glare and enhancing colors, particularly when shooting water and sky.
Recommended Settings
For daytime shooting, use a low ISO (100-400) and a fast shutter speed to freeze motion. For low-light situations, increase the ISO to 1600-3200 and use a slower shutter speed, stabilizing your camera to avoid blur. Aperture priority mode is useful for controlling depth of field, while manual mode offers full control over exposure. Experiment with different settings to find the best results for each scene.Frequently Asked Questions
What is the best time of day to photograph Rio de Janeiro?
The golden hours, shortly after sunrise and before sunset, offer the best light for photography. The light is soft, warm, and directional, creating long shadows and enhancing textures. Midday light is harsh and can create difficult glare, so it is best avoided for outdoor photography.
Do I need a visa to visit Rio de Janeiro as a photographer?
Visa requirements depend on your nationality. Many countries have visa exemption agreements with Brazil, allowing stays of up to 90 days for tourism. Check the latest visa policies before traveling, as regulations can change. Always carry your passport and visa documentation with you.
Is it safe to photograph in Rio de Janeiro?
Rio is generally safe for tourists, but petty crime can occur. Be aware of your surroundings, avoid displaying expensive gear, and keep your camera close. In crowded areas, use a cross-body strap and stay vigilant. Trust your instincts and avoid isolated areas, especially at night.
What lenses are best for street photography in Rio?
A 35mm or 50mm prime lens is ideal for street photography. These lenses offer a natural field of view and are compact, making them easy to carry. They also encourage you to move closer to your subject, creating more intimate and engaging images. A zoom lens, such as a 24-70mm, can also be useful for versatility.
Conclusion
Rio de Janeiro offers a rich mix of visual experiences, from its iconic landmarks to its vibrant street life. By following this three-day itinerary, you can capture the essence of the city in a structured and efficient manner. Remember to prioritize safety, respect local customs, and experiment with different techniques to create unique and compelling images.
Final Tip: Always carry a small, fast lens, like a 50mm f/1.8, for spontaneous moments. It is lightweight, versatile, and performs well in low light, allowing you to capture candid shots without drawing attention. This simple addition to your kit can significantly enhance your ability to document the authentic spirit of Rio.